Add Row
Add Element
cropper
update
NJ Remodel Guide
update
Add Element
  • Home
  • Categories
    • Remodel Playbook
    • Local Pros
    • Design Dreams
    • Eco Living
    • Toolbox Talk
    • Smart Spend
    • DIY Lab
    • Trend Watch
    • Maintenance Matters
October 09.2025
3 Minutes Read

Re-Caulking Your Bathtub: A Simple DIY Project for Homeowners

Modern bathtub with blue tape for caulking preparation, clean white tiles.

Why Re-Caulking a Bathtub is a Game Changer

Many homeowners overlook the importance of re-caulking their bathtubs. But not only does this DIY project refresh your bathroom's aesthetic, it plays a crucial role in protecting your home from mold and damage. Think of it as preventative care for your bathroom – a simple upgrade that can prevent costly repairs in the future. Specifically, a clean bead of caulk wards off water sneaking behind the tub, which can wreak havoc on your walls. It creates a watertight seal that enhances not just the look but also the health of your bathroom environment.

Your Supplies Make All the Difference

To kick off your re-caulking journey, gather the right tools and materials. A caulking gun, silicone caulk, utility knife, and painter’s tape are essential. More importantly, choose a caulk that is specifically designed for wet areas like baths and showers – silicone is often your best bet. While it can be more challenging to apply compared to acrylic latex, its waterproof properties make it invaluable for a long-lasting seal. Having these supplies at your fingertips will ensure a smooth and successful project.

Step-by-Step: Get Your Caulk On!

Ready to dive into re-caulking your bathtub? Follow these straightforward steps to achieve a professional-looking finish:

  • Cut the Old Caulk: Using a utility knife, carefully cut away the edges of the old caulk. This first step will make the next part of the process much easier.
  • Scrape It Out: Channel your inner handyman and scrape out all the gunky old caulk. It's a workout, but it’s vital that you don’t layer new caulk over the old stuff.
  • Clean It Up: Once the old caulk is removed, it’s time for a thorough cleaning. A shop vac is useful for debris removal, followed by rubbing alcohol to disinfect the area.
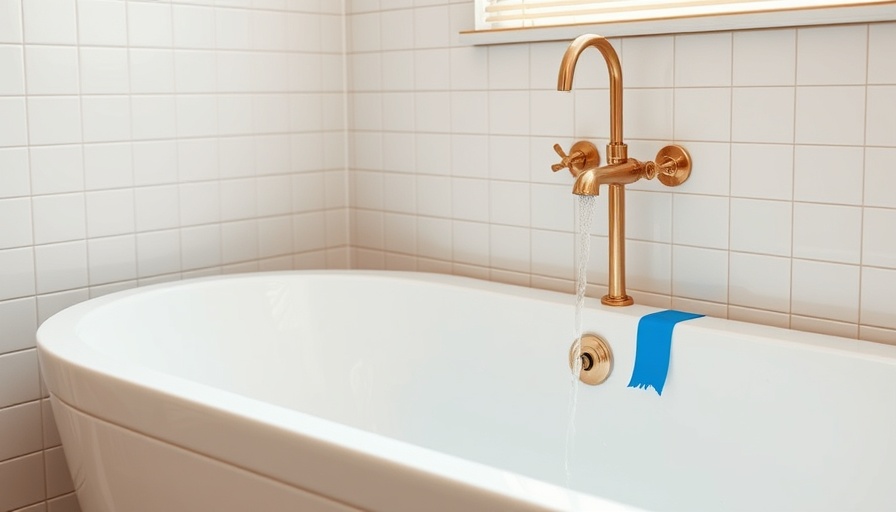
  • Tap It Off: Before applying the new caulk, protect your tub and tiles with painter’s tape for a crisp, clean line.
  • Apply the Caulk: Load your caulking gun and apply a steady bead of silicone caulk along the joint. Maintain a steady pace for an even bead.
  • Smooth It Out: Use a wet finger or a baby wipe to smooth and shape the caulk. This step is crucial for achieving that flawless finish.

Let It Cure and Celebrate Your Success

Once your caulk job is complete, it’s essential to allow it to cure properly before using the bathtub. A minimum of 24 hours is recommended to ensure a watertight bond. After you've waited, step back and admire your handiwork! Your bathroom will look fresher and cleaner, and you'll have the satisfaction of completing a DIY project successfully.

Why Home Maintenance Matters

Embracing small home maintenance tasks like re-caulking can lead to significant improvements around the house. Not only does it keep your living space looking polished, but it can save you from future headaches caused by larger issues. So, roll up your sleeves and give it a try – your bathroom will thank you!

Are you ready to take on this DIY project? Check out your local home improvement store for supplies and embrace the proud satisfaction that comes with improving your home yourself!

DIY Lab

4 Views

0 Comments

Write A Comment

*
*
Related Posts All Posts

Transform Your Cooking: The Best Way to Clean Your Oven Naturally

Update The Benefits of Cleaning Your Oven Naturally Cleaning your oven doesn't just improve the appearance of your kitchen; it enhances your cooking experience too! A clean oven ensures that flamboyant flavors reach your dishes and avoid the burnt remnants of yesterday’s meals from altering the taste of your food. Also, it's a great way to ensure a safer cooking environment by reducing smoke buildup or potential fire hazards. Why Skip Harsh Chemicals? Many commercial oven cleaners contain hazardous chemicals that can cause unwanted fumes and residue. By using natural ingredients like baking soda and vinegar, you can achieve a deep clean without endangering your health or compromising the flavors of your food. This eco-friendly approach makes cleaning less intimidating and can be a fun project for aspiring DIY enthusiasts! Step-by-Step: The Best Way to Clean Your Oven Here’s a quick and effective way to clean your oven using only safe supplies: Gather Your Supplies: You'll need baking soda, vinegar, rubber gloves, a sponge, microfiber cloths, a scouring pad for the racks, and a shop vacuum. Remove and Soak the Oven Racks: Take the oven racks out and soak them in a bathtub with hot water and dishwasher detergent for about 30 minutes. Vacuum Debris: Use a vacuum to clear out any loose crumbs, ensuring a smooth cleaning process without the mess. Steam Clean the Oven: Use a steam cleaner to help remove grime and soften stuck-on food particles. Baking Soda Paste: Mix baking soda and water to create a paste, and apply it generously inside your oven, avoiding the heating elements. Let it sit for one to two hours. Wipe Down the Oven: After the paste has dried, wipe down the surfaces with a damp cloth. For stubborn spots, you may need to repeat the process. This method is effective and significantly reduces the time and effort needed when compared to using harsh cleaners! Keep Your Oven Clean with Simple Tips To maintain a cleaner oven, consider using an oven liner to catch spills and routinely steam clean with vinegar and water. A little maintenance can go a long way in preventing heavy build-up between deep cleanings. Cleaning your oven might sound daunting, but with the right techniques, it can become a manageable task. Try these natural methods for a stress-free, chemical-free cleaning experience and enjoy cooking in a sparkling clean oven!

Mastering the Simple Guide to Changing Your Furnace Humidifier Filter

Update Why Change That Furnace Humidifier Filter? Many homeowners overlook the importance of changing their furnace humidifier filter until it's too late. If you've ever heard dripping sounds coming from your furnace closet, you might have already encountered this issue. A clean furnace humidifier filter is vital for maintaining a comfortable and healthy home during the chilly winter months. Identifying Your Humidifier Not all homes have a whole-house humidifier. These units are commonly found in regions with dry or cold climates where heating systems run extensively in winter. To find out if you have one, check for a small box near your furnace with a water supply line leading to it. If you don’t see any such unit, you might be just fine without one. But if you do, be sure to keep that filter fresh! How Often to Replace Your Filter? A good rule of thumb is to replace your furnace humidifier filter once every heating season, typically at the start of winter. Even if it looks okay, minerals can build up over time, interfering with moisture dispersal. In harsher climatic conditions or with hard water, you might even need to replace it more frequently. If your filter is dirty—clogged with scale buildup—replace it immediately! Ignoring it could lead to leaks or further indoor air quality issues. DIY Steps to Change Your Filter Changing a furnace humidifier filter is a quick and straightforward task. Here's how: Turn Off Everything: Shut down both the humidifier and the furnace. This ensures safety while you work. Remove the Cover: Locate the humidifier attached to your HVAC unit and take off its cover. Take Out the Old Filter: Remove the old filter; if it's scaled up, you'll know why replacement is necessary. Check for Water Build-Up: Before inserting a new filter, rinse the housing with warm water to remove any leftover minerals. Insert the New Filter: Make sure you have the right size, and insert it according to the orientation it needs to be in. Reattach the Cover: Ensure everything is snug and back in place before turning the system back on. Test Your System: Finally, turn your heating system back on and check that everything functions smoothly. Why Is This Important? By taking care of your humidifier filter, you're not just preventing leaks; you're enhancing your home's air quality and making your winters more comfortable. Staying proactive about home maintenance tasks like this one can save you from costly repairs down the road. This simple DIY project is just a few minutes of your time but has lasting benefits. If you're ready to tackle more tasks around the home, keep an eye out for additional DIY tips and maintenance guides.

2025 Reflections: Home, Growth, and DIY Journeys

Update A Year of Growth: Reflecting on 2025As we stand at the close of 2025, it's time to reflect on the amazing journey that has unfolded. This year was different; it was less about surviving and more about thriving. After navigating a challenging period with IVF, a pandemic, and life with two little ones, I finally felt grounded and supported. My theme for this year was 'strong,' and that reflected in every aspect of my life—from my personal growth to the projects I tackled around the house.Celebrating Home and Family MomentsThis year, I kicked off projects that brought joy and a sense of accomplishment. January marked the creation of Ellis’s big boy room, which not only sparked excitement but resulted in a cozy space where I could snuggle with him too! February brought our annual family trip to WaterColor, Florida, providing a much-needed winter escape filled with sunshine.The Joy of DIY ProjectsMarch was all about spring cleaning; I shared tips on fun tasks like cleaning your range hood filter (trust me, it’s more satisfying than it sounds!). Every project this year, from deep cleaning my dryer vent to launching my Substack, was not just about home improvement but also personal reflection. Each project gave me a moment to pause, breathe, and cherish family time.Looking to the Future: New Projects AheadThe year has prepared me for exciting challenges ahead, including the release of my book in 2026! As homeowners and DIY enthusiasts, let’s remember that every little project is a step toward building a home and life we love. So let's take these skills into the new year and continue to create beautiful spaces and cherished moments!

Terms of Service

Privacy Policy

Core Modal Title

Sorry, no results found

You Might Find These Articles Interesting

T
Please Check Your Email
We Will Be Following Up Shortly
*
*
*